Documentation
Magic Home setup guide
This guide walks through the Magic Home app setup, API key creation, and ESP32 controller onboarding. Use app version 0.2.1 or later for the API key workflow. Last updated May 25, 2026.
Overview video
Watch the full walkthrough video for the complete setup flow.
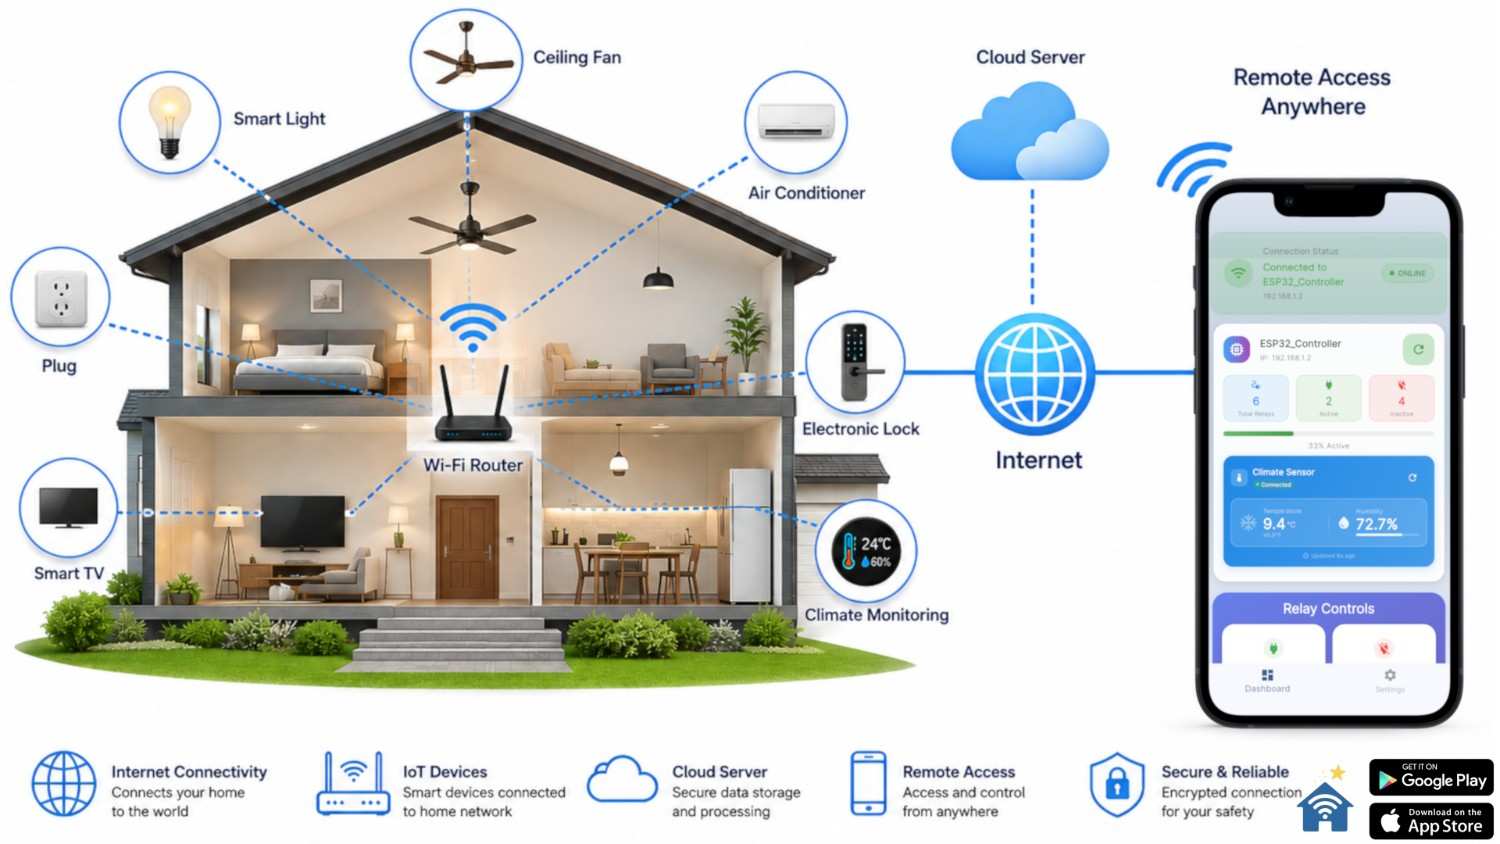 Watch on YouTube
1. Install and sign in
Download Magic Home from the Play Store or App Store and sign in with your account.
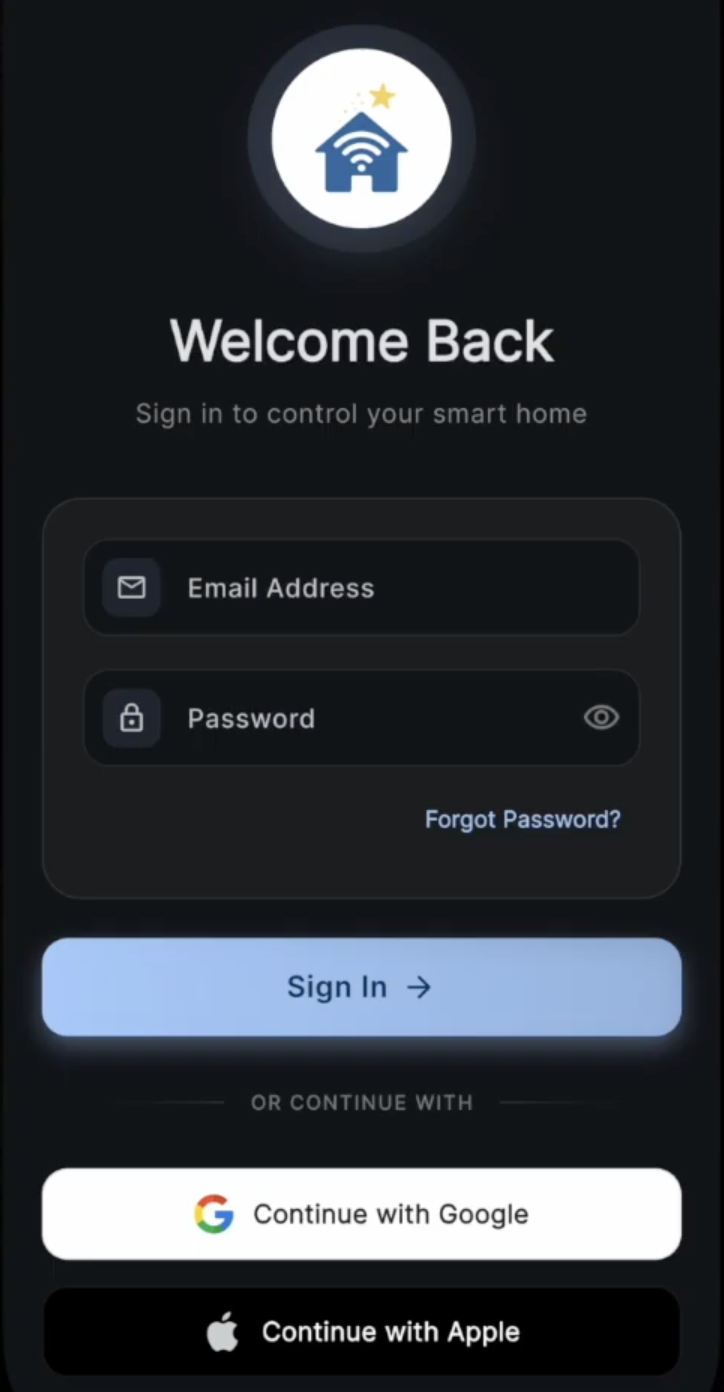
Login screen
Sign in to start the Magic Home setup flow.
2. Create or scan an API key
After login, you land on the API Key setup page. You can enter a key manually or scan the QR code.
- If you already have a key, paste it or scan the QR code.
- If you need a new key, tap Create to generate one in the app.
- Find the key later under Settings -> API Key to copy or scan.
- Keep the API key private. Treat it like a password.
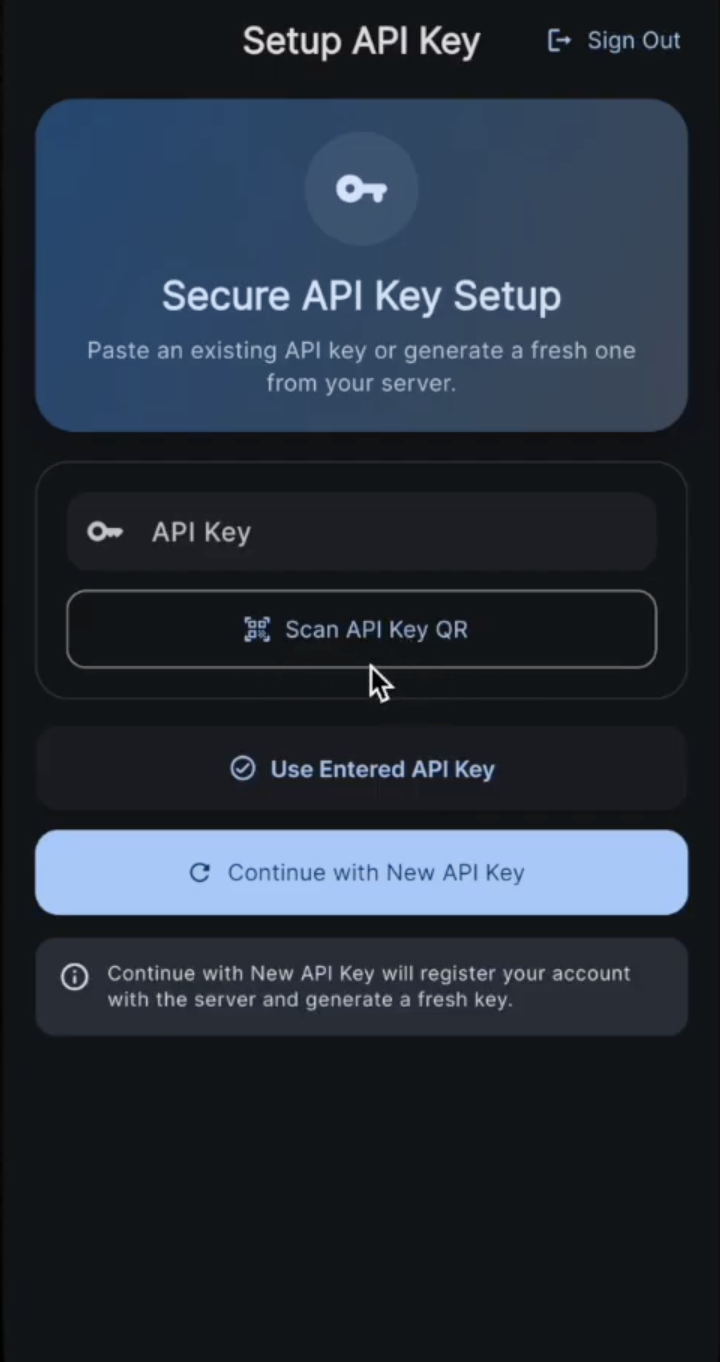
API key setup
Create or scan an API key right after login.
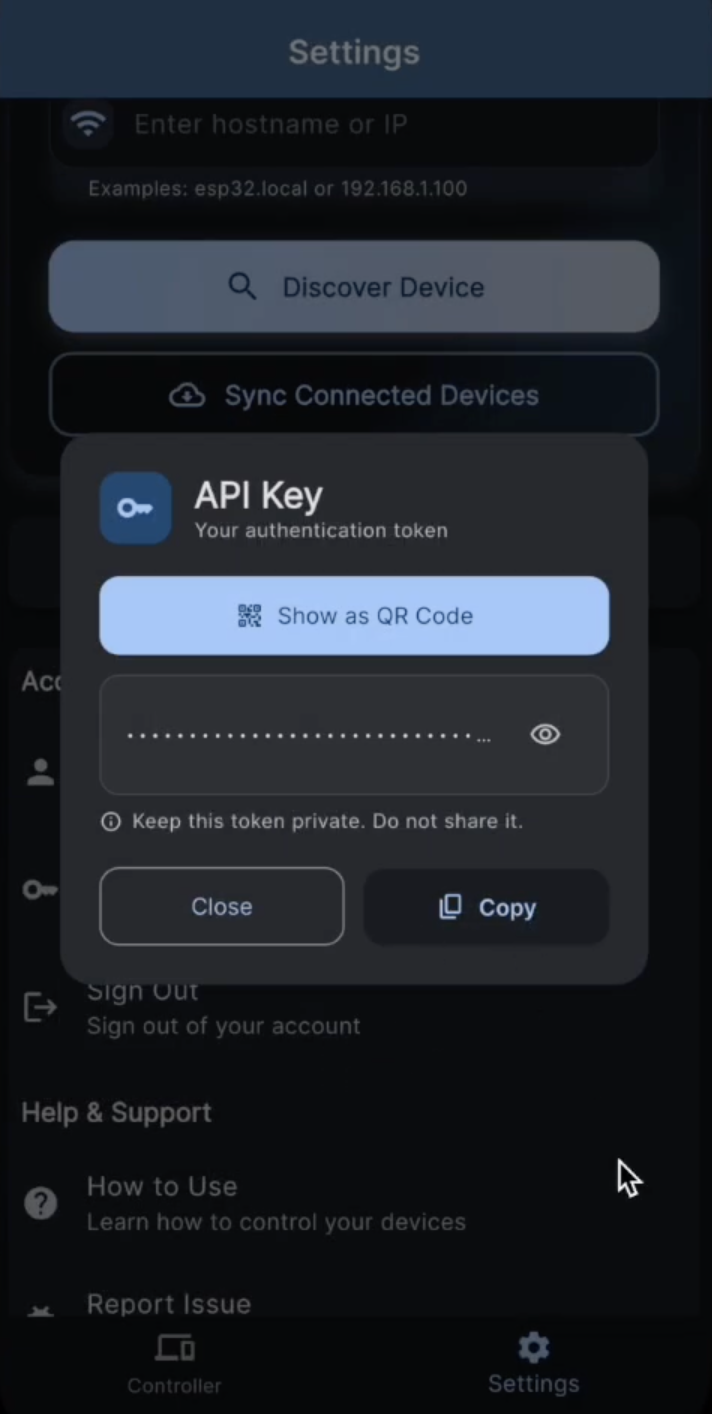
Settings -> API Key
Locate the API key later for copy or QR scan.
3. Prepare the ESP32 firmware source
Install the PlatformIO extension for Visual Studio Code and open the ESP32 Magic Home Client project.
Firmware repository: github.com/MagicBulletPro/esp32-magic-home-client
- Clone the ESP32 Magic Home Client repository.
- Open the project in VS Code with PlatformIO installed.
- Open the main.cpp file.
4. Configure device settings
- Set Wi-Fi credentials.
- Set the Auth Token to your API key from the app.
- Choose a unique deviceId for each controller.
- Set a device name and description.
- Configure the status LED and DHT sensor pin.
- Set DHT type: 0 (disabled), 11 (DHT11), or 22 (DHT22).
- Define relays using {pin, name, description, initialState}.
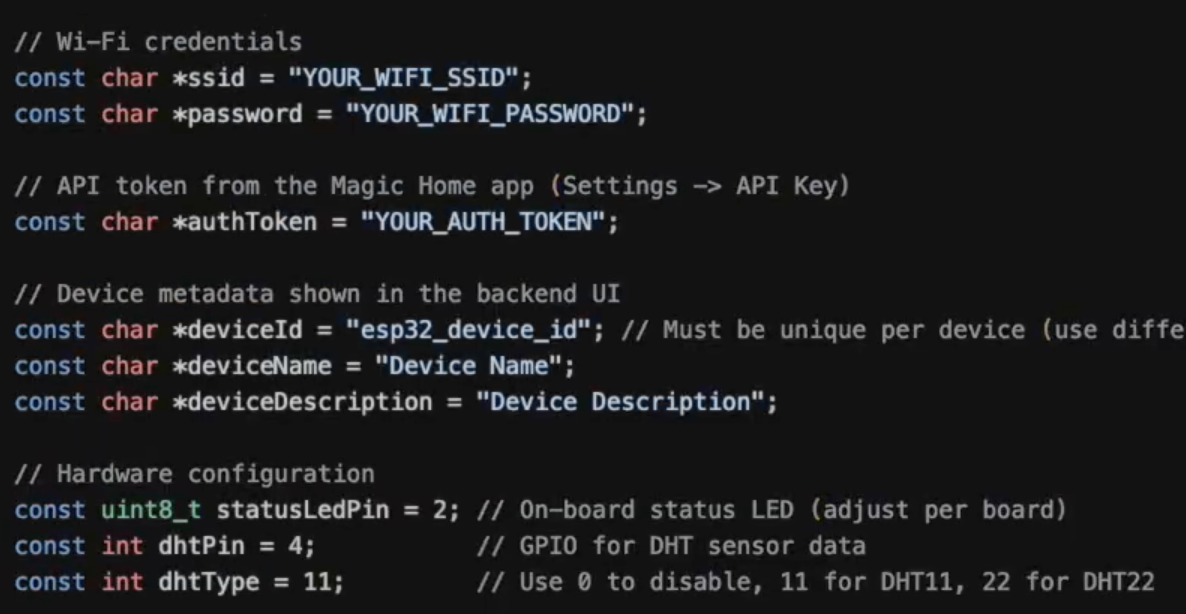
Wi-Fi and Auth token
Enter Wi-Fi credentials and the API key token.
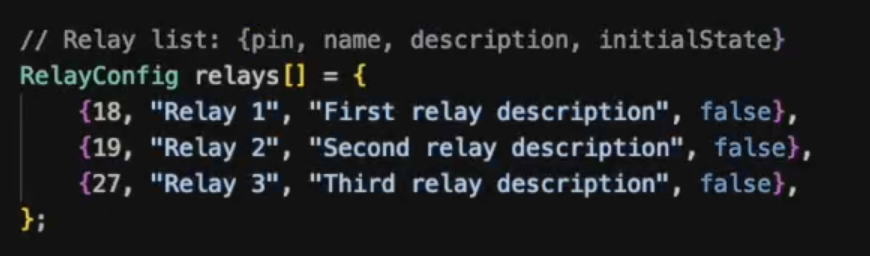
Relay definitions
Define relay pins, names, and initial states.
5. Build, upload, and verify
- Build the firmware in PlatformIO.
- Connect the ESP32 and upload.
- Reset the controller and wait for the blue LED to turn on.
When the LED turns on, the controller is registered and ready.
6. Sync and control devices
- Open the Magic Home app.
- Go to Settings and tap Sync Connected Devices.
- Open the Controller tab to manage relays and view climate status.
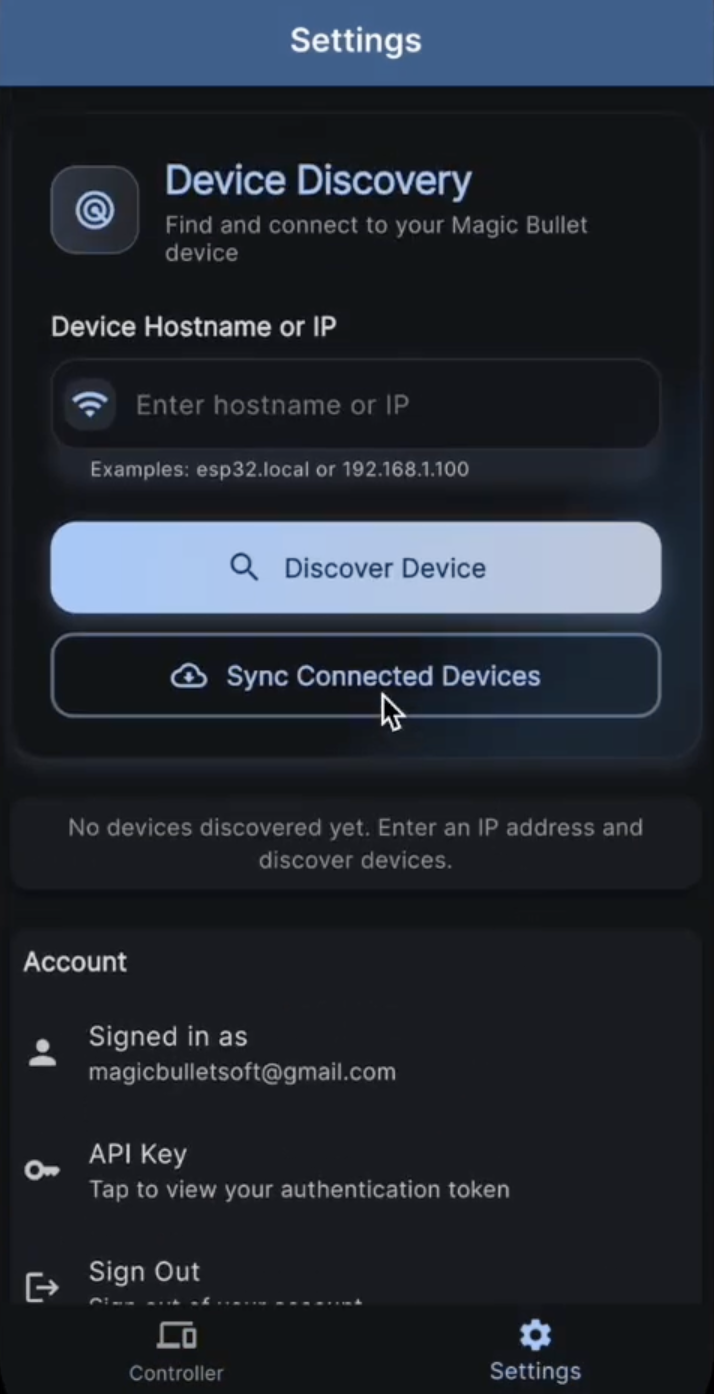
Sync connected devices
Run sync to pull newly registered controllers.
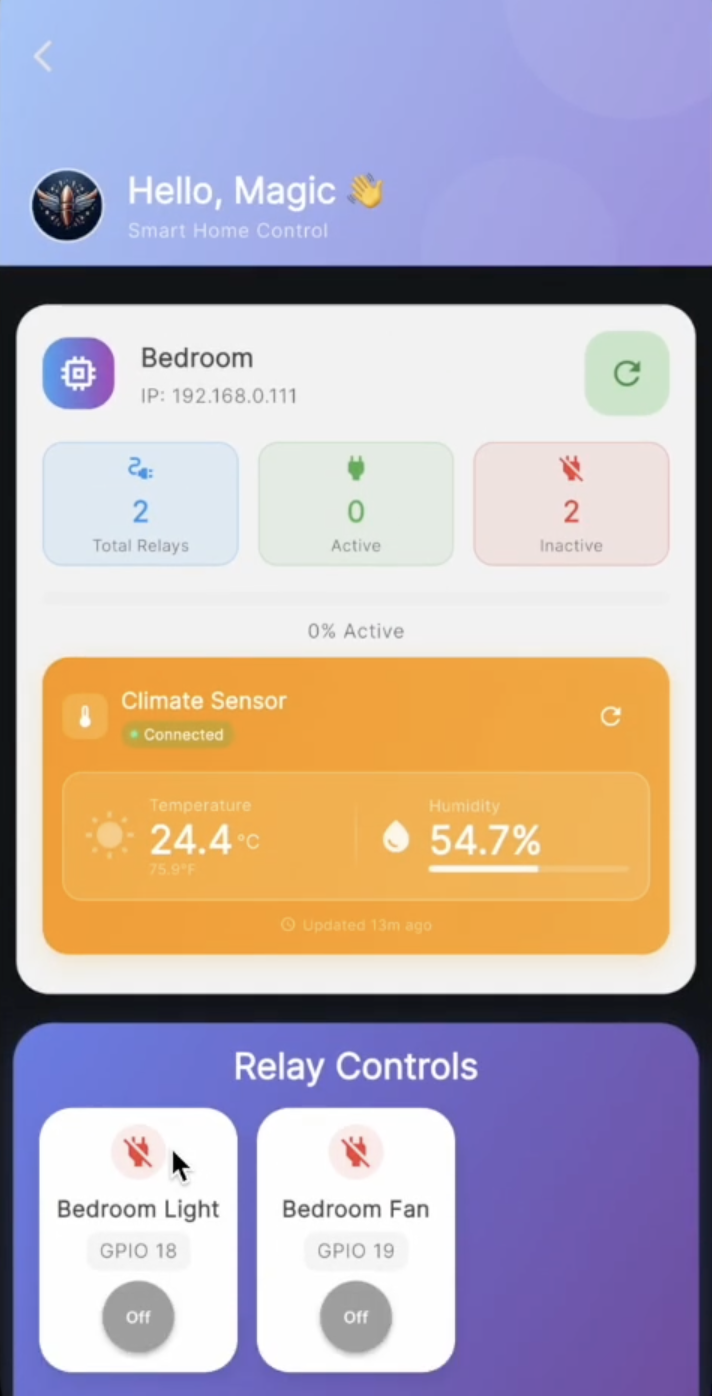
Controller dashboard
Monitor relay controls and climate readings.
7. Hardware and circuit setup
Confirm your ESP32 wiring and hardware setup before powering on the controller.
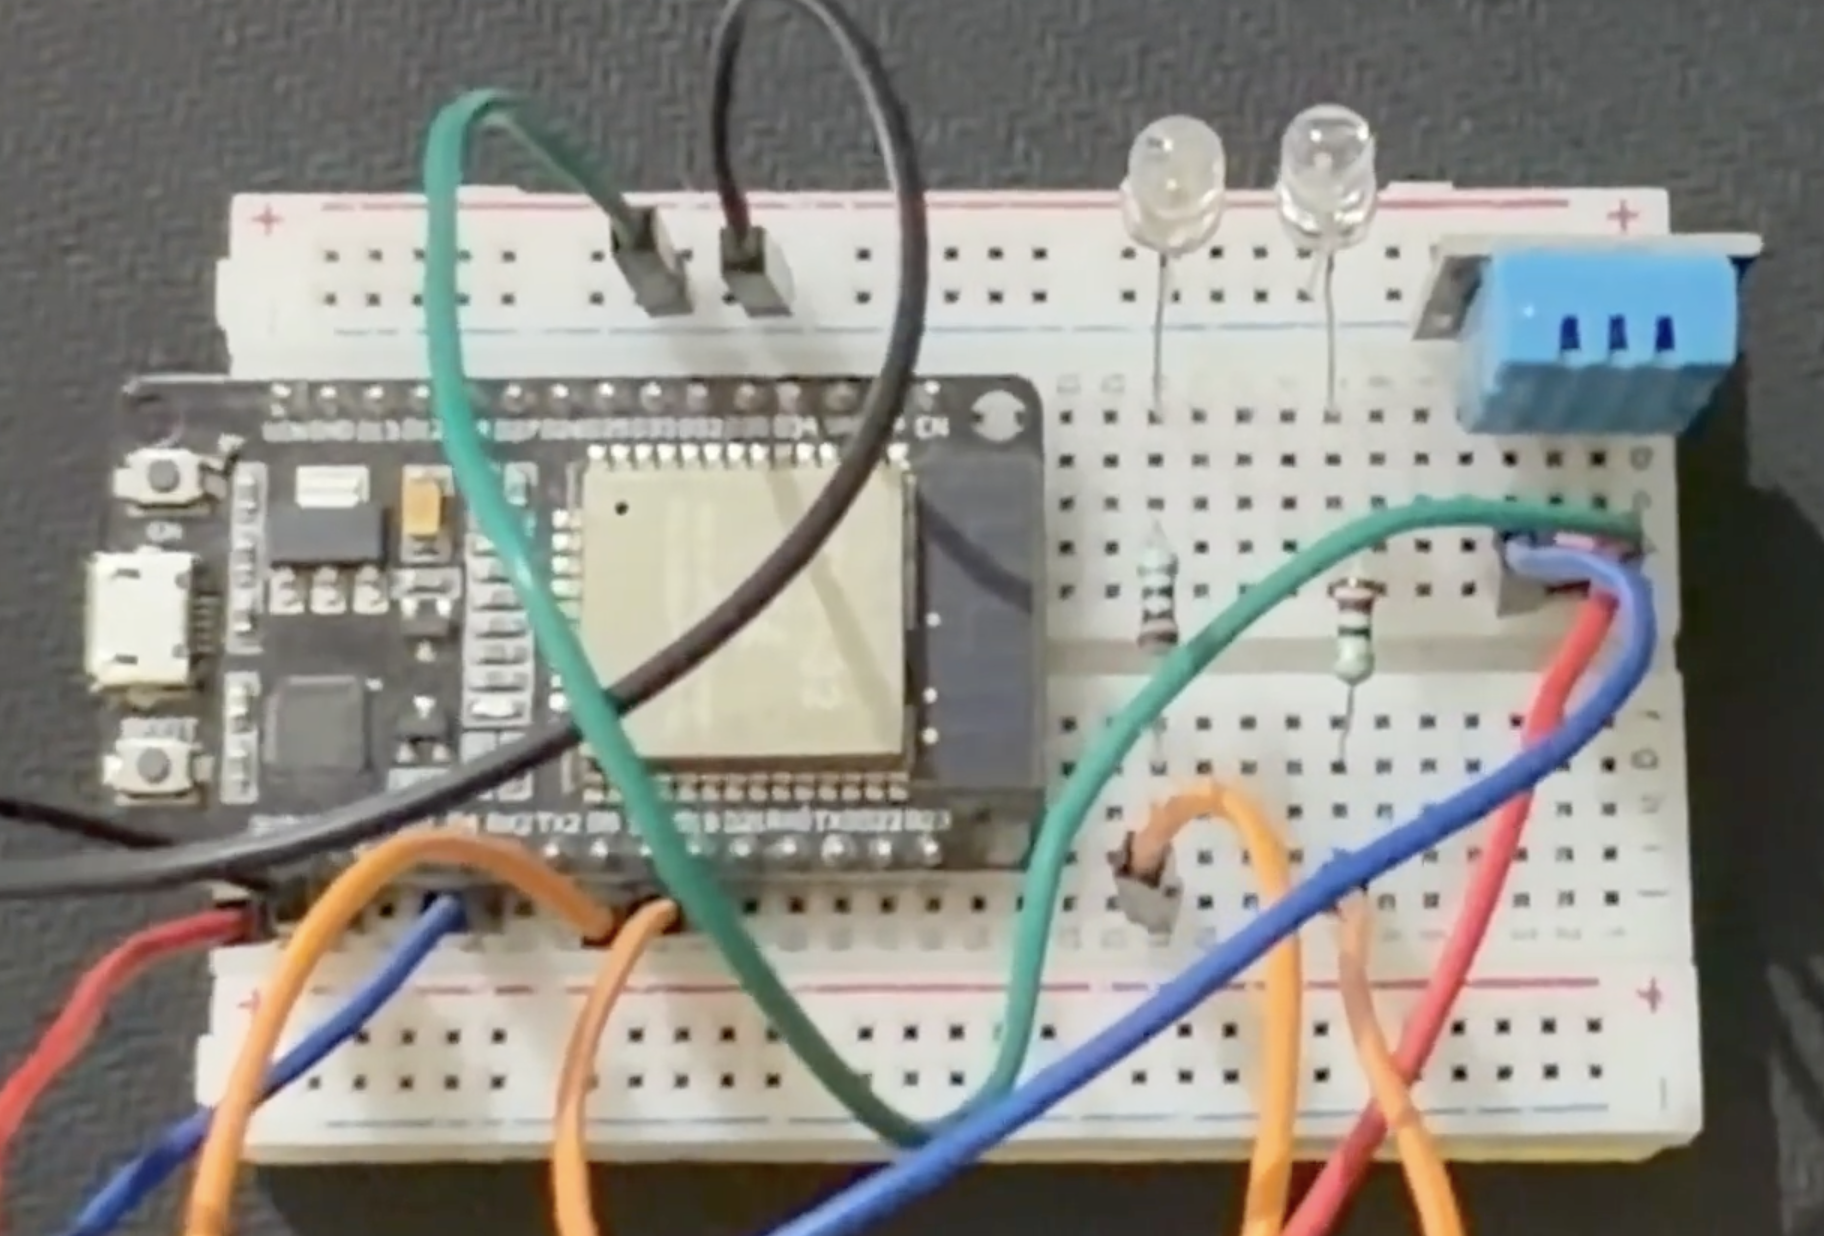
Hardware layout
ESP32, relay, and sensor hardware layout.
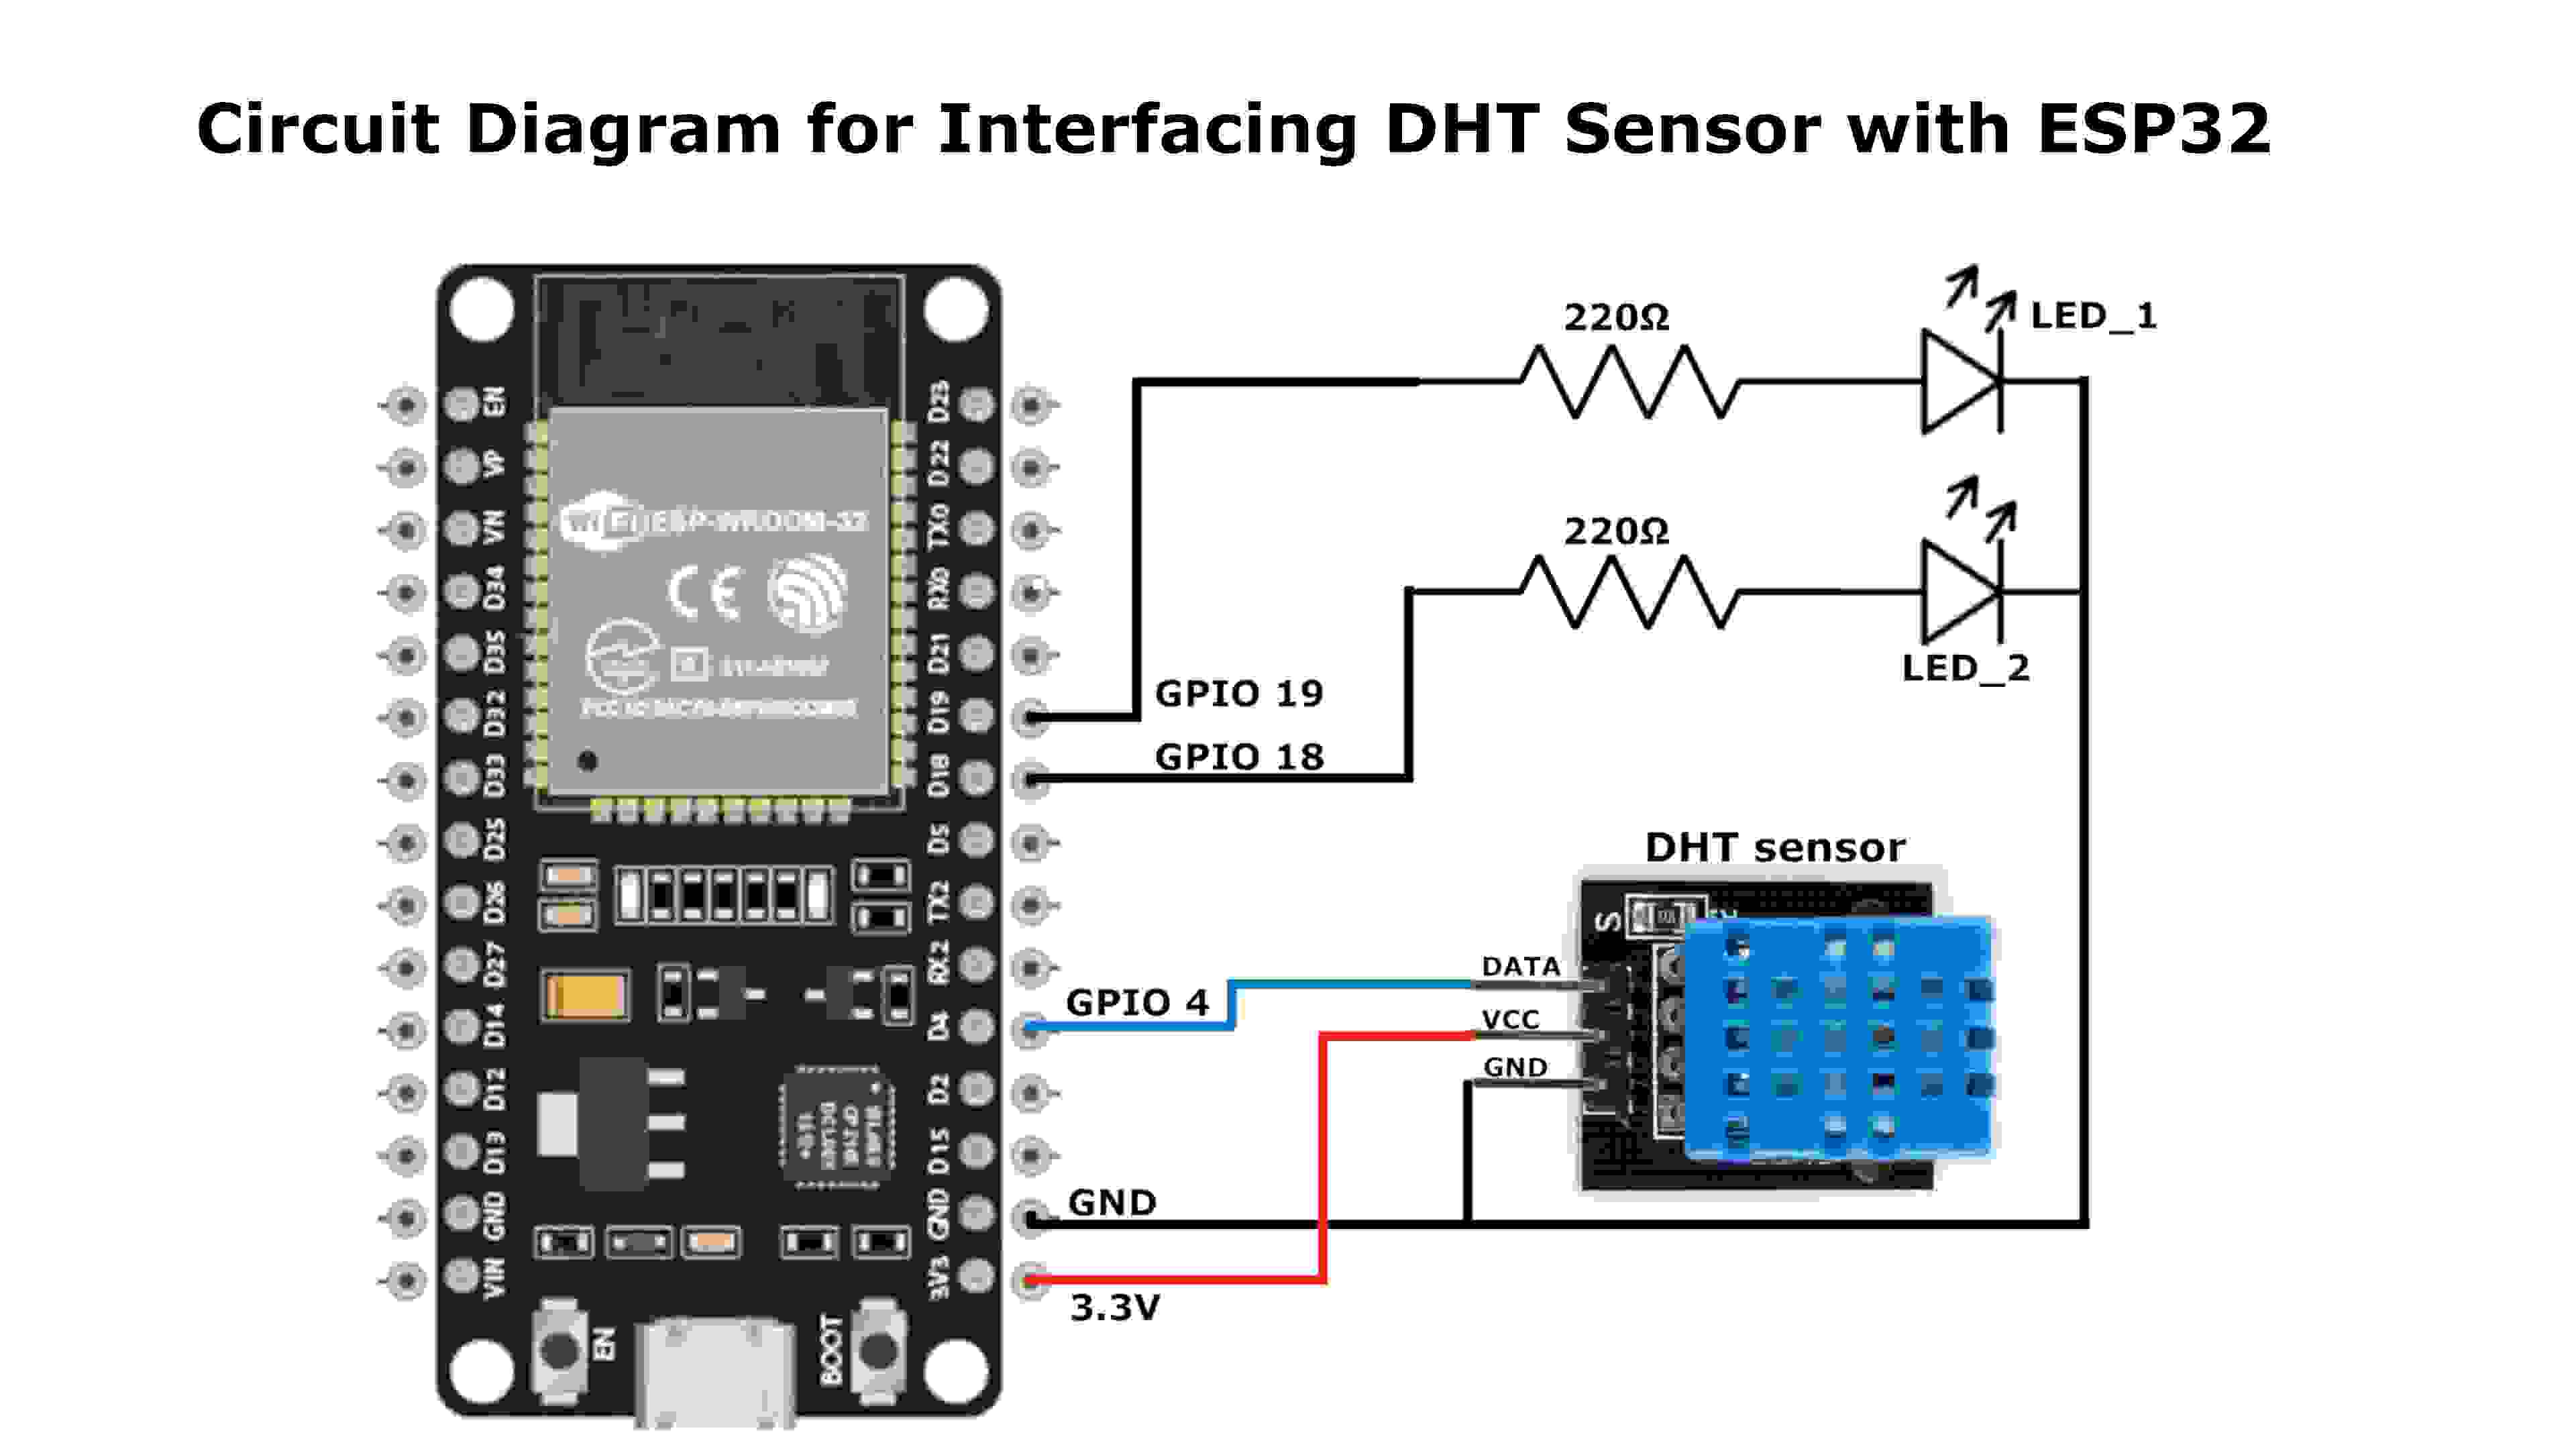
Circuit diagram
Wiring diagram for relays, sensors, and power.
8. Multi-device access
To use another phone or user account, log in and enter or scan the same API key. This lets multiple devices control the same controllers.